How do you install solar mounting brackets?
2024-09-18
How to Install Solar Mounting Brackets: A Step-by-Step Guide
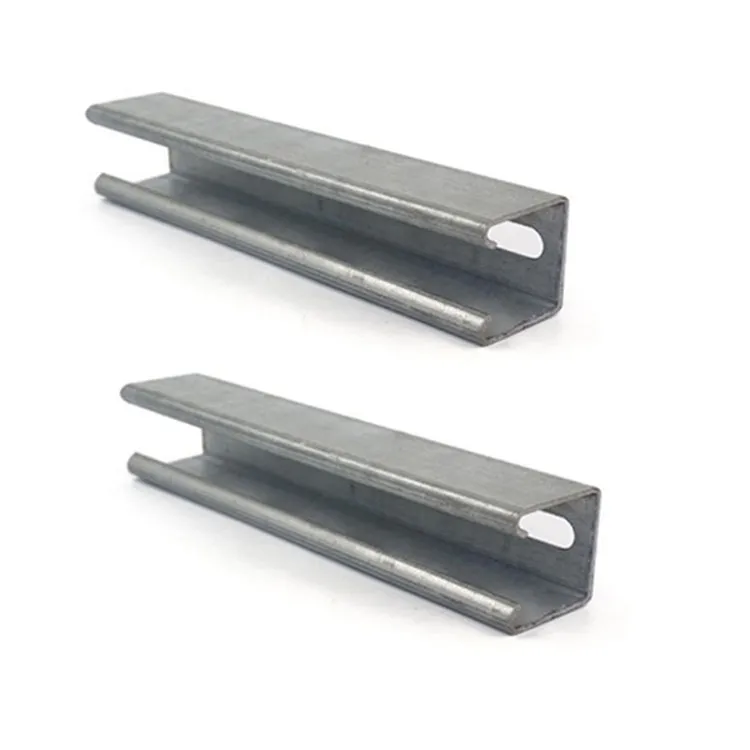
Installing solar mounting brackets is a crucial step in setting up a solar power system. These brackets securely hold solar panels in place, ensuring they are stable and optimally positioned for maximum sunlight exposure. Whether you’re mounting panels on a rooftop or the ground, following the correct installation process is key to the performance and longevity of your system. In this guide, we’ll walk through the step-by-step process of installing solar mounting brackets safely and effectively.
---
Step 1: Assess the Installation Site
Before beginning the installation, it’s important to evaluate the location where the solar panels will be mounted.
- Rooftop or Ground Mounting: Depending on your setup, you’ll either mount the solar panels on a roof or on the ground. Rooftop installations require more attention to roof integrity and waterproofing, while ground-mounted systems need a sturdy base.
- Sun Exposure: Ensure that the installation site receives adequate sunlight throughout the day and that no trees or buildings create shadows over the panels.
- Roof Condition: For rooftop installations, inspect the roof to make sure it can support the weight of the solar panels and mounting system. It’s also essential to check the roof's angle to maximize solar exposure.

---
Step 2: Gather the Necessary Tools and Materials
Before starting the installation, ensure you have all the required tools and materials on hand. These include:
- Solar mounting brackets (specific to your system)
- Solar panels
- L-brackets or roof hooks (for rooftop installations)
- Rail system (for securing solar panels to the brackets)
- Bolts, screws, and fasteners
- Drill and bits
- Socket wrench
- Measuring tape
- Level
- Safety gear (gloves, helmet, harness)
---
Step 3: Mark the Mounting Points
Once you’ve assessed the site and gathered materials, it’s time to mark where the solar mounting brackets will be installed.
- Find Roof Rafters or Beams: For rooftop installations, use a stud finder to locate roof rafters or structural beams. The solar mounting brackets must be fastened to these beams for maximum stability.
- Spacing Between Brackets: Measure and mark the spots where each bracket will be installed. The spacing between the brackets should match the size of your solar panels and the rail system. Use a measuring tape to ensure even distances and a level to ensure the brackets will be installed straight.
---
Step 4: Install the Solar Mounting Brackets
With the mounting points marked, begin installing the solar mounting brackets.
- Drill Pilot Holes: Use a drill to create pilot holes at each marked location. The pilot holes will guide the screws and prevent the roof from cracking or splitting.
- Attach the Brackets: Place the mounting brackets over the pilot holes and secure them to the roof or ground base using bolts or screws. For rooftop installations, make sure the brackets are firmly attached to the rafters or structural beams to ensure stability.
- Seal the Holes: To prevent water leakage, apply a waterproof sealant around the screws and bolts after securing the brackets to the roof.
---
Step 5: Install the Rail System
Once the brackets are securely fastened, the next step is to install the rail system. The rails will support the solar panels and keep them in place.
- Attach Rails to Brackets: Align the rails with the mounting brackets and secure them using bolts or fasteners provided with your mounting kit. Ensure the rails are level and evenly spaced.
- Tighten the Rails: Use a socket wrench to tighten the bolts, ensuring that the rails are securely attached and won’t shift under the weight of the solar panels.
---
Step 6: Mount the Solar Panels
With the rail system in place, you’re ready to install the solar panels onto the brackets.
- Lift and Position Panels: Carefully lift each solar panel and position it on the rail system. It’s important to ensure the panels are aligned properly and securely placed.
- Clamp the Panels: Use panel clamps to attach the solar panels to the rails. Ensure the clamps are tightened to hold the panels firmly in place.
- Check Panel Alignment: After mounting, check to make sure all panels are aligned evenly. A misaligned panel can affect the efficiency of your system.
---
Step 7: Connect the Wiring
Once the panels are installed, the final step is to connect the electrical wiring.
- Inverter Connection: Connect the solar panels to the inverter, which converts the direct current (DC) generated by the panels into alternating current (AC) used by most appliances.
- Wiring Safety: Ensure that all wiring is properly insulated and secured to prevent any electrical hazards.
- Testing: After wiring the system, test the connection to ensure the panels are generating power and the system is functioning properly.
---
Conclusion
Installing solar mounting brackets is a key part of setting up a solar power system. By carefully assessing the installation site, using the right tools and materials, and following these steps, you can ensure a secure and effective installation that maximizes the performance of your solar panels. Whether you’re mounting on a roof or the ground, a properly installed bracket system will ensure your solar panels remain stable and efficient for years to come.
Gangtong Zheli Fasteners is a professional China Solar Accessories manufacturers and suppliers which provide customized service of Solar Accessories. Visit our website at https://www.gtzlfastener.com/ to learn more about our products. For inquiries, you can reach us at ethan@gtzl-cn.com.


